Hey there! I'm a supplier of Wireless Microphone Kits, and I've seen firsthand how these nifty gadgets can transform live event recordings. Whether it's a small business seminar, a large-scale concert, or a community theater performance, using a wireless microphone kit can take your audio quality to the next level. In this blog, I'll share some tips on how to use a wireless microphone kit for live event recording.
1. Choose the Right Wireless Microphone Kit
First things first, you need to pick the right wireless microphone kit for your event. There are different types of wireless mics out there, like handheld, lapel (clip-on), and headset mics.
- Handheld Mics: These are great for solo performers, presenters, or anyone who wants to have full control over the mic. They're easy to use and can project a strong, clear sound.
- Lapel Mics: Ideal for speakers who need to move around freely during a presentation or for interviews. They're discreet and can be clipped onto clothing, so the speaker's hands are free.
- Headset Mics: These are perfect for performers who need both hands free, like dancers or musicians who play instruments. They stay in place well, even during active movements.
Consider the size of the event, the number of speakers or performers, and the type of venue. For smaller events in a confined space, a basic wireless mic kit might do the trick. But for larger venues with more people and a need for multiple mics, you'll want a more professional-grade system.
2. Set Up the Receiver and Transmitter
Once you've got your wireless microphone kit, it's time to set it up. The kit usually comes with a receiver and one or more transmitters.
- Receiver Placement: Place the receiver close to the recording device, like a camera or a sound mixer. Make sure it has a clear line of sight to the transmitters. Avoid placing it near other electronic devices that might cause interference, such as Wi-Fi routers or fluorescent lights.
- Transmitter Configuration: For handheld mics, the transmitter is built into the mic itself. Just turn it on and set the correct channel on both the transmitter and the receiver. For lapel and headset mics, connect the transmitter to the mic and then turn it on. Again, match the channel on the transmitter and the receiver.
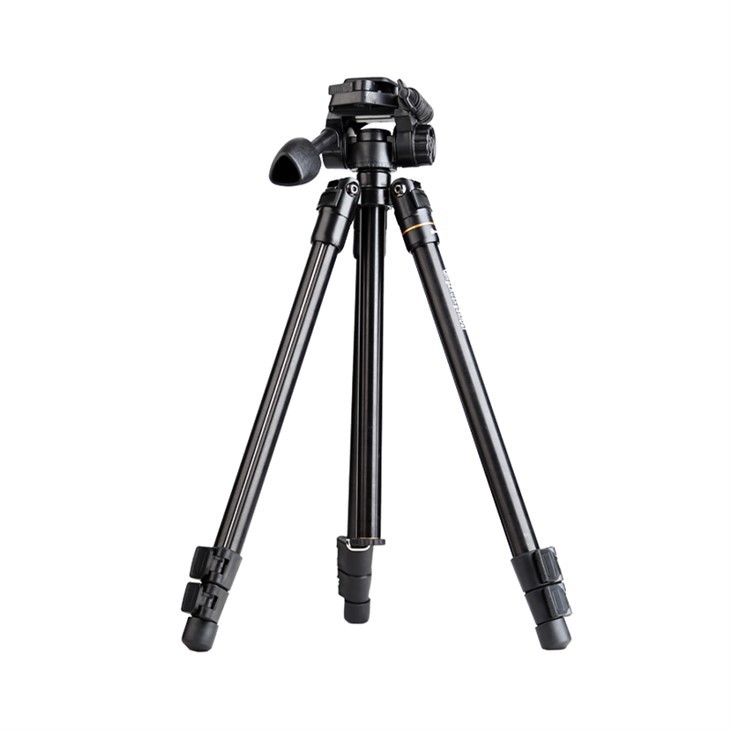
You can also use the TS - A017 - K Desktop Tripod TS - A017 - K Desktop Tripod to hold your recording device steady and position it at the right angle. This tripod is super handy, especially if you're recording on a desktop or a flat surface.
3. Test the System
Before the event starts, it's crucial to test the wireless microphone system. Have a speaker or performer use the mic and check the audio quality on the recording device. Walk around the venue to make sure there are no dead spots or interference issues.
- Volume Check: Adjust the volume on the transmitter and the receiver to get the right level. You don't want the audio to be too loud and distorted or too soft and hard to hear.
- Interference Test: Move the transmitters around the venue and see if there are any drop - outs or static sounds. If you notice interference, try changing the channel on the transmitter and receiver.
The 360 Degree Camera Tripod 360 Degree Camera Tripod can be useful during the testing phase. You can use it to position the camera in different angles to record the audio from various perspectives and ensure that the sound is consistent throughout the venue.
4. Position the Microphones
Proper microphone positioning is key to getting great audio.
- Handheld Mics: Hold the mic about 2 - 3 inches away from the mouth, at a slight angle. This helps to reduce popping sounds (plosives) when the speaker says words like "p" or "b".
- Lapel Mics: Place the mic on the speaker's chest, about 2 - 3 inches below the chin. Make sure the mic capsule is facing up towards the mouth. Avoid placing it too close to buttons or zippers, as they can cause noise when the speaker moves.
- Headset Mics: Position the mic so that it's about 1 - 2 inches from the corner of the mouth. Adjust the headband to fit comfortably, so the mic stays in place.
5. Monitor the Audio During the Event
During the live event, keep an eye (and an ear) on the audio. Use headphones to listen to the sound coming from the recording device. This way, you can quickly detect any issues, like a sudden drop in volume or interference.
- Volume Adjustment: If the audio is too loud or too soft, you can adjust the volume on the receiver or the recording device. Some wireless microphone kits also allow you to adjust the gain on the transmitter.
- Troubleshooting: If you encounter problems, like a loss of signal or static noise, try changing the channel on the transmitter and receiver. Sometimes, moving the receiver or the transmitters slightly can also help to improve the signal.
The TS - Q109 - Q Professional Video Accessories Tripod TS - Q109 - Q Professional Video Accessories Tripod can be used to hold additional recording devices or monitors, so you can keep a close watch on the audio and video during the event.
6. Record and Review
Once everything is set up and tested, it's time to start recording. Make sure the recording device is set to the correct audio settings, like the right sampling rate and bit depth.
- Recording: Start the recording before the event begins to capture any pre - event chatter or setup sounds. Keep recording throughout the event, and make sure to stop it at the end.
- Review: After the event, review the recording to check the audio quality. Listen for any issues, like background noise, distortion, or inconsistent volume. If necessary, you can use audio editing software to clean up the audio.
7. Maintenance and Storage
After the event, take good care of your wireless microphone kit.

- Cleaning: Wipe down the mics, transmitters, and receivers with a soft, dry cloth. For handheld mics, you can also clean the microphone grille with a small brush to remove any dust or debris.
- Battery Management: Remove the batteries from the transmitters and receivers if you're not going to use them for a while. This helps to prevent battery leakage, which can damage the equipment.
- Storage: Store the kit in a cool, dry place. Use the original case or a protective carrying case to keep the components safe and organized.
Contact for Purchase and Consultation
If you're interested in getting a high - quality wireless microphone kit for your live event recordings, I'd love to talk to you. We offer a wide range of wireless microphone kits to suit different needs and budgets. Whether you're a small business owner, an event organizer, or a professional in the entertainment industry, we've got the right solution for you. Reach out to us, and let's discuss how we can make your next event a sound success!
References
- "Sound Reinforcement Handbook" by David Miles Huber and Robert E. Runstein
- "The Audio Expert: Everything You Need to Know About Professional Audio" by Robert B. Reyburn


