Hey there! As a data cable supplier, I've seen my fair share of broken data cables. It's a real bummer when your trusty cable gives up the ghost, but don't worry – in most cases, you can fix it yourself. In this blog post, I'll walk you through the steps to repair a broken data cable, and I'll also throw in some tips on how to prevent future damage.
Step 1: Identify the Problem
The first step in repairing a broken data cable is to figure out what's wrong with it. There are a few common issues you might encounter:

- Frayed or cut wires: If you notice that the outer insulation of the cable is damaged and the wires inside are exposed, this is a clear sign that the cable is frayed or cut.
- Loose or damaged connectors: Sometimes, the problem isn't with the cable itself, but with the connectors at either end. If the connector is loose, bent, or damaged, it can prevent the cable from working properly.
- Internal damage: In some cases, the problem might be internal to the cable. This could be due to a short circuit, a broken wire, or other issues.
To identify the problem, start by visually inspecting the cable. Look for any signs of damage, such as frayed wires, cuts, or bent connectors. If you don't see any obvious damage, try plugging the cable into a device and see if it works. If it doesn't, you might need to do some further testing.
Step 2: Gather Your Tools
Once you've identified the problem, it's time to gather the tools you'll need to repair the cable. Here's a list of some common tools you might need:
- Wire strippers: These are used to remove the outer insulation from the cable and expose the wires inside.
- Soldering iron and solder: If you need to repair a broken wire, you'll need a soldering iron and solder to join the wires together.
- Electrical tape: This is used to insulate the repaired wires and prevent them from short-circuiting.
- Heat shrink tubing: This is an alternative to electrical tape that provides a more durable and professional-looking finish.
- Multimeter: This is a tool used to test the electrical continuity of the cable and identify any shorts or breaks in the wires.
Step 3: Repair Frayed or Cut Wires
If you've identified frayed or cut wires, the first step is to strip the outer insulation from the cable using wire strippers. Be careful not to cut the wires inside. Once you've exposed the wires, use a multimeter to test the continuity of each wire. If a wire is broken, you'll need to repair it using a soldering iron and solder.
To repair a broken wire, start by twisting the two ends of the wire together. Then, heat the soldering iron and apply a small amount of solder to the joint. Make sure the solder flows evenly around the joint and covers the wires completely. Once the solder has cooled, use electrical tape or heat shrink tubing to insulate the joint and prevent it from short-circuiting.
Step 4: Repair Loose or Damaged Connectors
If the problem is with the connector, you might be able to repair it by tightening the screws or replacing the connector altogether. To tighten the screws, use a small screwdriver to loosen the screws on the connector and then tighten them again. Make sure the connector is firmly attached to the cable.
If the connector is damaged beyond repair, you'll need to replace it. To do this, start by removing the old connector from the cable using wire strippers. Then, strip the outer insulation from the cable and expose the wires inside. Next, insert the wires into the new connector and solder them in place. Make sure the wires are connected to the correct pins on the connector. Once the wires are soldered, use electrical tape or heat shrink tubing to insulate the joint and prevent it from short-circuiting.
Step 5: Test the Cable
Once you've repaired the cable, it's time to test it to make sure it's working properly. Plug the cable into a device and see if it works. If it doesn't, use a multimeter to test the electrical continuity of the cable and identify any remaining issues.
If the cable still doesn't work, you might need to repeat the repair process or replace the cable altogether. In some cases, the problem might be with the device itself, so make sure to test the cable with multiple devices to rule out this possibility.
Tips for Preventing Future Damage
Now that you've repaired your broken data cable, you'll want to take steps to prevent it from happening again. Here are some tips to help you keep your data cables in good condition:
- Use cable organizers: Cable organizers can help keep your cables neat and tidy, reducing the risk of them getting tangled or damaged.
- Avoid bending or twisting the cables: Bending or twisting the cables can cause the wires inside to break, so try to keep them as straight as possible.
- Unplug the cables gently: When unplugging the cables, make sure to pull on the connector, not the cable itself. Pulling on the cable can cause the wires inside to break or the connector to become loose.
- Store the cables properly: When you're not using the cables, store them in a cool, dry place. Avoid leaving them in direct sunlight or in a hot car, as this can cause the cables to degrade over time.
Our Data Cable Products
As a data cable supplier, we offer a wide range of high-quality data cables to meet your needs. Here are some of our popular products:
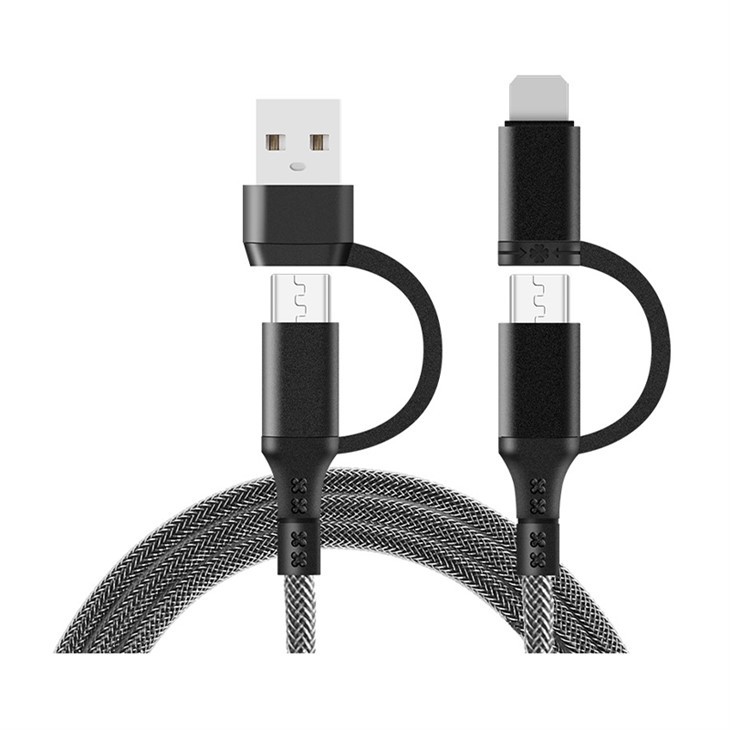
- TS-X014-A 2 Supports 2 Multi functional Fast Charging Data Cables: These cables support fast charging and are compatible with a variety of devices.
- USB A To USB C PVC Data Cable: These cables are made from high-quality PVC material and are perfect for transferring data between devices.
- TS-X02-A Apple 27W digital fast charging: These cables are specifically designed for Apple devices and support fast charging.
If you're interested in purchasing any of our data cables, or if you have any questions about our products, please don't hesitate to contact us. We'd be happy to help you find the right cable for your needs.
Conclusion
Repairing a broken data cable might seem like a daunting task, but with the right tools and a little bit of know-how, it's actually quite easy. By following the steps outlined in this blog post, you can repair your broken data cable and save yourself the hassle and expense of buying a new one. And by taking steps to prevent future damage, you can keep your data cables in good condition for years to come.
If you have any questions or comments about this blog post, or if you'd like to learn more about our data cable products, please feel free to leave a comment below or contact us directly. We'd love to hear from you!
References
- "How to Repair a Broken USB Cable." Lifewire, 2021.
- "Tips for Extending the Life of Your Data Cables." TechHive, 2020.


