As a supplier of Wireless Microphone Kits, I've had the privilege of witnessing how these tools can transform a live music performance. In this blog post, I'll share my insights on using a Wireless Microphone Kit effectively during a live music show.
Understanding Your Wireless Microphone Kit
Before you can use a Wireless Microphone Kit, it's crucial to understand its components. Typically, a kit includes a transmitter and a receiver. The transmitter is attached to the microphone, which picks up the sound. The sound is then converted into a radio signal and sent to the receiver. The receiver, in turn, converts the radio signal back into an audio signal and sends it to the sound system.
Transmitter
The transmitter is a small device that you attach to the microphone. It's powered by batteries, and you need to make sure they are fully charged before the performance. Some transmitters also have adjustable settings, such as gain and frequency. You can adjust these settings to optimize the sound quality.
Receiver
The receiver is usually connected to the sound system. It picks up the radio signal from the transmitter and converts it back into an audio signal. You need to place the receiver in a location where it can receive a strong signal from the transmitter. Avoid placing it near other electronic devices that may cause interference.
Setting Up Your Wireless Microphone Kit
Once you understand the components of your Wireless Microphone Kit, it's time to set it up. Here are the steps you need to follow:
Step 1: Choose the Right Frequency
Most Wireless Microphone Kits allow you to choose the frequency at which the transmitter and receiver operate. You need to choose a frequency that is not being used by other wireless devices in the area. This will help to avoid interference and ensure a clear sound.
Step 2: Connect the Receiver to the Sound System
Connect the receiver to the sound system using an audio cable. Make sure the connection is secure. You may need to adjust the input settings on the sound system to match the output of the receiver.
Step 3: Attach the Transmitter to the Microphone
Attach the transmitter to the microphone. Make sure it is securely attached and that the batteries are properly installed. Turn on the transmitter and adjust the gain and frequency settings if necessary.
Step 4: Test the System
Before the performance, test the system to make sure it is working properly. Have the performer speak or sing into the microphone, and listen for any interference or distortion. If you notice any problems, adjust the settings or move the receiver to a different location.
Using Your Wireless Microphone Kit During the Performance
Once you have set up your Wireless Microphone Kit, it's time to use it during the performance. Here are some tips to help you get the best results:
Keep the Transmitter Close to the Microphone
To ensure a strong signal, keep the transmitter as close to the microphone as possible. Avoid placing the transmitter in a pocket or bag, as this can block the signal.
Avoid Obstructions
Make sure there are no obstructions between the transmitter and the receiver. Walls, furniture, and other objects can block the radio signal and cause interference.
Monitor the Signal Strength
Keep an eye on the signal strength indicator on the receiver. If the signal strength is low, move the transmitter or the receiver to a different location.
Be Prepared for Battery Changes
Since the transmitter is powered by batteries, you need to be prepared for battery changes during the performance. Have extra batteries on hand and change them as needed.
Enhancing Your Performance with Accessories
In addition to the Wireless Microphone Kit, there are several accessories that can enhance your performance. Here are some examples:
65''Wall Mount Interactive Whiteboard with Stands
This interactive whiteboard can be used to display lyrics, chords, or other information during the performance. It can also be used for presentations or other types of events.
TS-A070-K Desktop Tripod
This desktop tripod can be used to hold the microphone in place. It's adjustable, so you can position the microphone at the perfect angle for the performer.
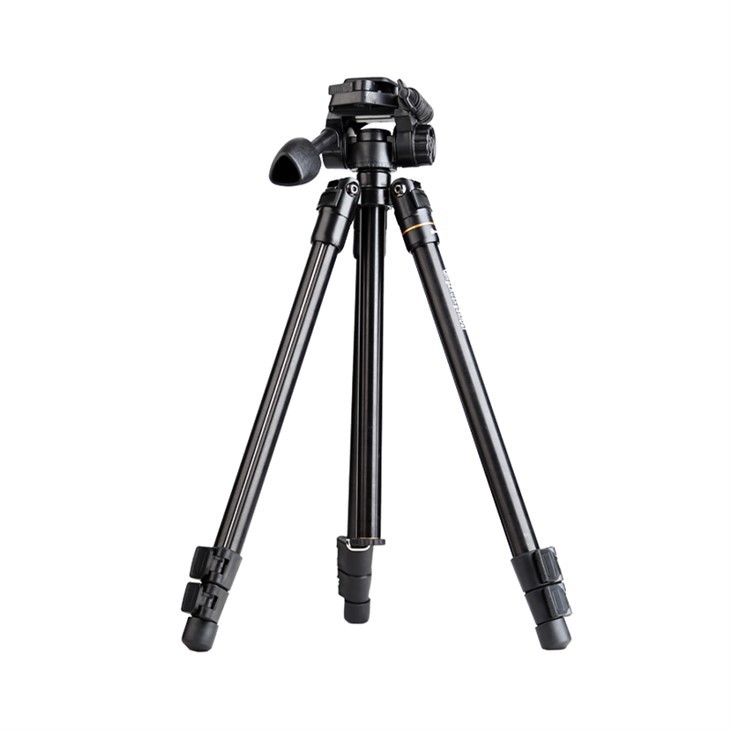
TS-Q109-Q Professional Video Accessories Tripod
This professional video accessories tripod can be used to hold a camera or other video equipment. It's sturdy and adjustable, so you can get the perfect shot during the performance.

Conclusion
Using a Wireless Microphone Kit can greatly enhance the quality of a live music performance. By understanding the components of the kit, setting it up properly, and using it effectively during the performance, you can ensure a clear and powerful sound. Additionally, by using accessories such as the 65''Wall Mount Interactive Whiteboard with Stands, TS-A070-K Desktop Tripod, and TS-Q109-Q Professional Video Accessories Tripod, you can take your performance to the next level.
If you're interested in purchasing a Wireless Microphone Kit or any of the accessories mentioned in this blog post, please feel free to contact us for more information and to discuss your specific needs. We're here to help you make the most of your live music performances.
References
- "Wireless Microphone Basics." Shure, Inc.
- "How to Set Up a Wireless Microphone System." Audio-Technica U.S., Inc.
- "Tips for Using Wireless Microphones in Live Performances." Sennheiser Electronic Corporation.


